
November 07, 2026
How to Sanitize a Reverse Osmosis Storage Tank
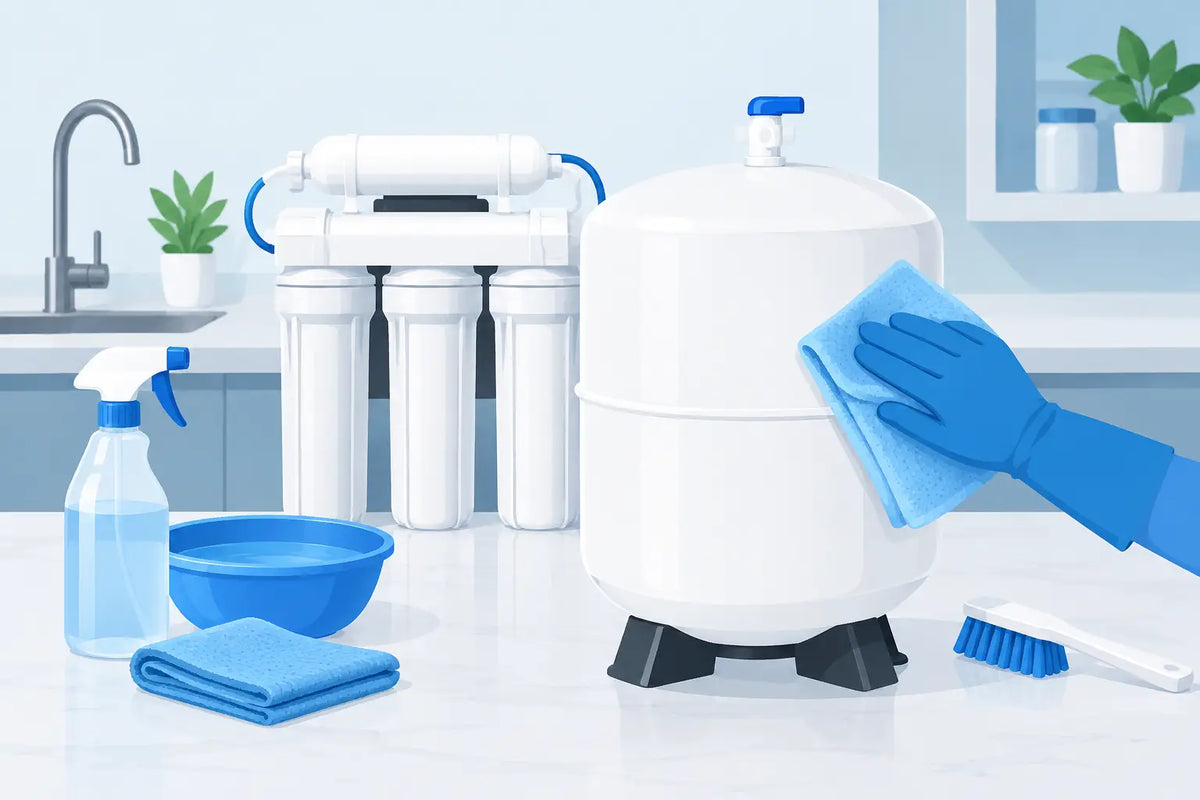
A reverse osmosis system can still produce water after service is overdue, which is why tank sanitation is easy to overlook. If your water has developed an unusual taste or odor, your system sat unused, or you are replacing filters, it may be time to sanitize a reverse osmosis storage tank. This simple maintenance step helps protect the clean, fresh water your family expects from its drinking water system.
The storage tank is not just an empty container. Most residential RO tanks hold purified water against a pressurized internal bladder, allowing water to flow quickly when you open the faucet. While the tank itself is sealed, trace buildup or bacteria can develop within the system over time, especially after periods of nonuse or improper filter changes. Proper sanitation cleans the tank and the water pathways leading to it without damaging the membrane or other components.
When Should You Sanitize a Reverse Osmosis Storage Tank?
For most households, sanitizing the RO system during a scheduled filter change is a practical routine. Annual sanitation is common, although the right schedule depends on your water source, system use, and manufacturer instructions. Homes supplied by private wells, vacant properties, vacation homes, and systems that have been shut down for several weeks may need more frequent attention.
Sanitize sooner if you notice a musty smell, an off taste that remains after replacing filters, visible residue inside filter housings, or a slimy feel on components during service. A new membrane installation is also a good time to sanitize the empty housings, tubing, faucet, and tank.
Not every taste issue means the tank is the problem. A spent carbon post-filter can cause poor-tasting water, while low tank pressure may create weak faucet flow. If your household water suddenly smells like sulfur, chlorine, or rotten eggs at multiple fixtures, the issue may be upstream of the RO system. Treat the source problem rather than repeatedly sanitizing a system that is otherwise functioning correctly.
What You Need Before You Start
Use the sanitizing method and product specified by your RO system manufacturer whenever possible. Many homeowners use an approved RO sanitizing packet or plain, unscented household bleach. The product must be free of fragrance, dyes, splashless additives, detergents, and other ingredients that should never enter drinking water equipment.
You will also need a bucket or towels, a filter housing wrench, clean disposable gloves, and replacement cartridges if you are completing annual maintenance. Keep the work area clean. Anything that touches the open filter housings, tubing, or fittings can introduce contamination back into the system.
Never combine bleach with vinegar, ammonia, acids, peroxide, or any other cleaner. Do not use scented cleaning products. If your system has specialized fittings, a permeate pump, UV unit, alkaline stage, or commercial storage arrangement, follow its specific service instructions or ask a water treatment professional before proceeding.
How to Sanitize a Reverse Osmosis Storage Tank Safely
Sanitation works best when you treat the full water path, not the tank alone. The exact layout varies by system, but the following process applies to many standard under-sink reverse osmosis systems.
1. Shut off water and empty the tank
Close the cold-water feed valve supplying the RO system. Close the valve on top of the storage tank, then open the RO faucet and allow water to drain completely. Opening the tank valve briefly after the flow slows can help confirm whether water remains, but keep the feed water shut off.
A tank that seems empty can still deliver a small amount of water. Give it time. Once flow stops, close the faucet and close the tank valve again before opening filter housings.
2. Remove filters and protect the membrane
Remove the sediment and carbon pre-filters, along with the carbon post-filter if your system design allows it. The reverse osmosis membrane should not be exposed to disinfectant unless the manufacturer specifically says otherwise. Remove it or isolate its housing according to your system instructions.
Discard old filters and rinse reusable housings with clean water. Inspect O-rings for flattening, cracking, or debris. A damaged O-ring can cause leaks after service, even if every other step is done correctly. Apply a light coating of food-grade silicone lubricant only when your manufacturer recommends it.
3. Add the approved sanitizing solution
Reinstall the empty filter housings and make sure they are hand-tightened, then tightened only as needed with the housing wrench. Over-tightening can damage threads or make future maintenance difficult.
Add the manufacturer-approved amount of sanitizer through the recommended housing or service port. For systems that permit plain unscented bleach, dosage varies by system size and bleach concentration, so do not guess. A pre-measured RO sanitizing product removes that uncertainty and is often the better choice for homeowners.
The goal is to send sanitizing solution through the tubing, faucet, and storage tank while the membrane and replacement filters are out of the system. This is why following your model's plumbing sequence matters.
4. Fill the tank and allow contact time
Open the feed-water valve and open the tank valve. Let the system run until sanitizer reaches the RO faucet, then close the faucet. Depending on your system configuration, this may require temporarily bypassing the membrane or following a manufacturer-directed sanitation setup.
Allow the tank and system to sit with the sanitizing solution for the recommended contact time, commonly several hours. Do not rush this step. Brief contact may reduce odor temporarily without adequately sanitizing the internal water path.
Keep children and pets away from the faucet while the system is being sanitized. Clearly mark the faucet if other people are in the home so no one drinks or cooks with the water during the process.
5. Drain, rinse, and reinstall new filters
After the required contact time, open the faucet and fully drain the tank. Close the feed water, remove the empty housings, and reinstall the RO membrane and new filters as directed by the manufacturer. Make certain cartridges are seated properly and that tubing connections are secure.
Turn the feed water and tank valve back on. Let the tank fill completely, then drain it through the RO faucet. Repeat the full tank fill-and-drain cycle until there is no sanitizer smell or taste. Many systems require two or more complete flushes. Do not rely on a quick faucet rinse because a storage tank holds much more water than the tubing alone.
Once the water is clear, odor-free, and free of any sanitizer taste, the system is ready for normal use. Check the housings, tank valve, and tubing connections for leaks over the next several hours.
Common Mistakes That Can Affect Water Quality
The most common mistake is sanitizing with filters and membrane still installed. Carbon filters can absorb sanitizer, and disinfectant can damage an RO membrane. Another is using too much bleach. More is not better. Excess disinfectant is harder to flush and can leave an unpleasant taste in the tank.
Skipping the post-filter is another frequent issue. If your system uses an inline carbon polishing filter, replacing it after sanitation is usually the best way to restore clean taste. Reusing old filters after a sanitation cycle can reintroduce the same taste, odor, or buildup you were trying to correct.
Do not adjust the tank's air pressure while it is full of water. If low flow continues after sanitation, drain the tank first and consult the tank label or system manual for the correct empty-tank precharge. Improper air pressure can reduce usable water capacity or strain the bladder.
When Cleaning Is Not Enough
A storage tank should be replaced if it is leaking, badly corroded externally, unable to hold pressure, or producing persistent odor after thorough sanitation and filter replacement. A failed bladder often shows up as very low water delivery, unusually rapid cycling, or little water stored despite normal incoming pressure.
Persistent water quality issues can also point to an exhausted membrane, contaminated tubing, an incorrectly installed filter, or a water source problem. For homeowners and facility operators who need help identifying the cause, Pure Water Guys can help match the service approach and replacement components to the system and water concern.
A clean RO tank is a small part of your home maintenance routine, but it has a direct effect on every glass of water at the faucet. Service it carefully, flush it fully, and let clean equipment protect the water your family relies on.