
September 20, 2026
How to Replace a Sediment Filter Cartridge
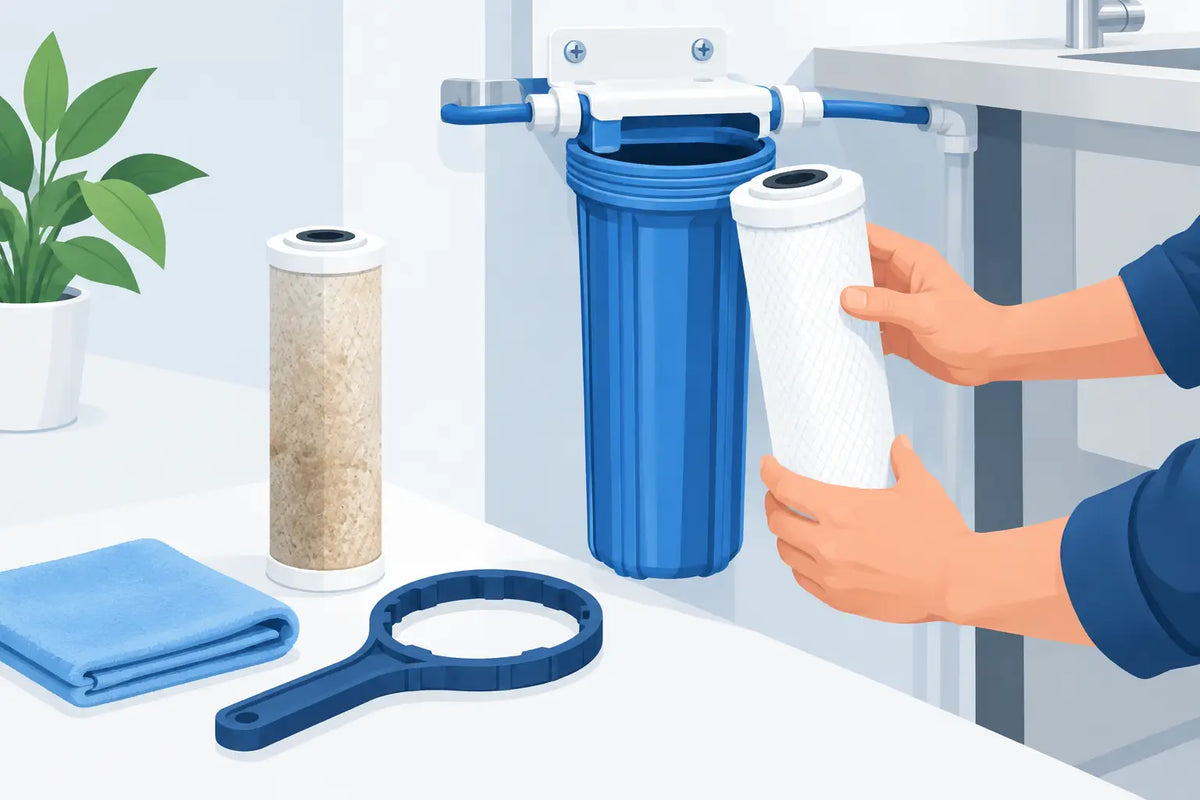
A sediment cartridge does quiet work until it cannot anymore. Water pressure drops, a filter housing looks dark or stained, or faucets begin to flow more slowly than usual. Knowing how to replace a sediment filter cartridge helps restore reliable water flow while protecting the plumbing, water heater, fixtures, and downstream treatment equipment that depend on it.
For most homeowners, this is a manageable maintenance task. The key is using the correct replacement cartridge, shutting the system down safely, and taking a moment to inspect what the old filter is telling you about your water supply.
When to Replace a Sediment Filter Cartridge
Sediment filters capture physical particles such as sand, silt, rust, dirt, and pipe scale. They are commonly installed as the first stage of a whole-house filter, well water system, under-sink system, or reverse osmosis prefiltration setup. As the cartridge fills with debris, it restricts flow.
A visible brown, orange, or gray cartridge is a useful clue, but appearance is not the only trigger. Replace the cartridge when household water pressure declines, the system reaches its stated service interval, or water use has been unusually high. A large whole-house cartridge may last three to six months under normal municipal water conditions. A well with heavy sediment can require changes much more frequently.
Do not wait until water stops moving through the system. A fully loaded filter puts unnecessary strain on plumbing and can reduce the performance of carbon filters, reverse osmosis membranes, UV systems, and other equipment installed after it.
Start With the Right Replacement Cartridge
Before opening the filter housing, confirm the cartridge size, style, and micron rating. The old cartridge or filter housing label usually provides the information you need. Common sizes include standard 10-inch and 20-inch slim cartridges, along with larger high-flow "Big Blue" style cartridges.
Micron rating matters because it determines the size of particles the filter captures. A 50-micron cartridge is often suitable for coarse sand or visible debris. A 5-micron cartridge provides finer filtration for general household sediment protection. A 1-micron cartridge can capture much finer material, but it may clog sooner when water contains a lot of sediment.
There is a trade-off: finer filtration is not automatically better. If your well water carries significant sand, rust, or silt, an overly fine cartridge can cause frequent pressure loss and repeated cartridge changes. A staged approach, such as a coarse sediment filter followed by a finer cartridge, may be the better long-term solution.
For whole-house systems, choose a cartridge designed for your housing and expected flow rate. For an under-sink or reverse osmosis system, use the manufacturer-approved size and media type. A cartridge that physically fits is not always the cartridge that will provide the correct filtration performance.
What You Need Before You Begin
Have the replacement sediment cartridge ready before shutting off water. You will also need the housing wrench supplied with the system, a clean bucket or shallow pan, a towel, and food-grade silicone lubricant for the O-ring if needed.
Avoid using petroleum jelly, automotive grease, or household oils on the O-ring. These products can damage rubber components and are not appropriate for potable water equipment. Keep the work area clean, especially if you are servicing an under-sink drinking water filter.
If the filter housing has been difficult to remove in the past, place a towel beneath it and make sure you have enough clearance to turn the wrench. Whole-house housings can hold a surprising amount of water.
How to Replace a Sediment Filter Cartridge Step by Step
1. Shut off the water supply
Close the water valve feeding the filter. On a whole-house system, this may be the main shutoff valve or a dedicated inlet valve. If your installation has a bypass valve, place the system in bypass according to its valve configuration so water can continue serving the home without entering the filter.
For an under-sink system, close the small feed-water valve. Do not attempt to open a pressurized filter housing.
2. Release pressure from the housing
Press the red pressure-relief button on top of the filter housing, if your unit has one. Hold a towel beneath the button because a small amount of water may release. If there is no relief button, open a nearby faucet after shutting off the feed water to relieve pressure.
This step makes the housing easier to remove and prevents a sudden release of water when you loosen it.
3. Remove the filter housing
Place your bucket beneath the housing. Fit the housing wrench around the lower canister and turn it counterclockwise. Once it is loose, finish unthreading it by hand while supporting the housing from below.
If the housing will not move, confirm the water is off and pressure has been released. Do not use pliers, pipe wrenches, or excessive force on plastic housings. Cracked threads or a damaged canister can turn a simple cartridge change into a leak repair.
4. Remove the old cartridge and inspect the housing
Lift out the used sediment cartridge and allow it to drain into the bucket. Dispose of it according to local waste guidelines. Most standard sediment cartridges can go into household trash, but follow instructions for specialty cartridges or commercial applications.
Inspect the inside of the housing for sediment buildup, discoloration, or slime. Rinse it with clean water. If it needs washing, use mild dish soap and rinse thoroughly. Do not use harsh cleaners that can leave residues or damage the housing.
Look closely at the O-ring seated in the housing groove. It should be clean, smooth, and free from cracks, flat spots, or stretching. A damaged O-ring should be replaced. If it is in good condition, wipe it clean and apply a very light coat of food-grade silicone lubricant.
5. Install the new sediment cartridge
Set the new cartridge over the center post in the bottom of the housing, if your housing includes one. Make sure it sits straight. Some cartridges have a specific top and bottom orientation, while others do not. Follow the markings on the cartridge when provided.
Confirm the O-ring is fully seated in its groove. This is the detail that prevents most leaks. Thread the housing back onto the cap by hand first. Tighten until snug, then use the housing wrench for a final secure turn. Do not overtighten. Excessive force can distort the O-ring, strip threads, or make the next cartridge replacement unnecessarily difficult.
6. Restore water slowly and check for leaks
Open the inlet valve gradually, or return the system from bypass to service slowly. Let the housing fill while watching the cap and housing seam. If your filter has a pressure-relief button, press it briefly to release trapped air once water reaches the housing.
Check for drips over the next several minutes. If you see a leak, shut off the water, release pressure, remove the housing, and inspect the O-ring placement. In many cases, a pinched, dry, twisted, or misplaced O-ring is the cause.
7. Flush the cartridge before normal use
Run cold water through the filter for several minutes, following the cartridge instructions. This flushes loose media fines, air, and any carbon dust if your system combines sediment and carbon filtration. For a whole-house filter, open a bathtub faucet or another high-flow cold-water fixture. For an under-sink filter, use the dedicated filtered-water faucet.
Avoid using hot water for flushing unless the system is specifically rated for it. Most standard filter housings and cartridges are intended for cold-water service.
Common Problems After a Cartridge Change
Low pressure immediately after replacement usually means the cartridge is too fine for the water conditions, a valve is not fully open, or air remains in the housing. Flush the system longer and verify the valves are in the correct position. If pressure remains low with a new cartridge, consider moving to a higher micron rating or evaluating whether your water source needs a more substantial sediment solution.
A leak at the housing seam almost always points to the O-ring. Remove it, clean the groove, lubricate it lightly with food-grade silicone, and reinstall it evenly. Never stack two O-rings or try to seal the housing threads with plumber's tape.
If sediment returns quickly after every replacement, the cartridge may be doing its job, but the system may not be sized for your water. This is common with private wells, older plumbing, or seasonal water changes. A larger-capacity housing, spin-down prefilter, backwashing sediment filter, or staged filtration system can reduce maintenance and support better flow.
Build Cartridge Changes Into Your Water Maintenance Plan
Write the installation date on the cartridge or housing with a permanent marker. Keep a spare cartridge on hand, particularly if you rely on well water or have a large household. Waiting for a replacement after pressure drops can leave the home without properly filtered water.
A sediment filter is also a useful diagnostic tool. Fine tan or brown silt may suggest groundwater sediment. Orange particles can indicate iron or rust. Black particles can come from degrading plumbing components, filter media, or other sources that deserve closer review. If the material changes suddenly or becomes unusually heavy, testing your water and reviewing your filtration setup is a smart next step.
Pure Water. Protected Family. A correctly sized sediment cartridge is simple maintenance with a real payoff: clearer flow, better protection for appliances, and a stronger foundation for every other filter in your system.