
October 08, 2026
How to Flush a New Water Filter Properly
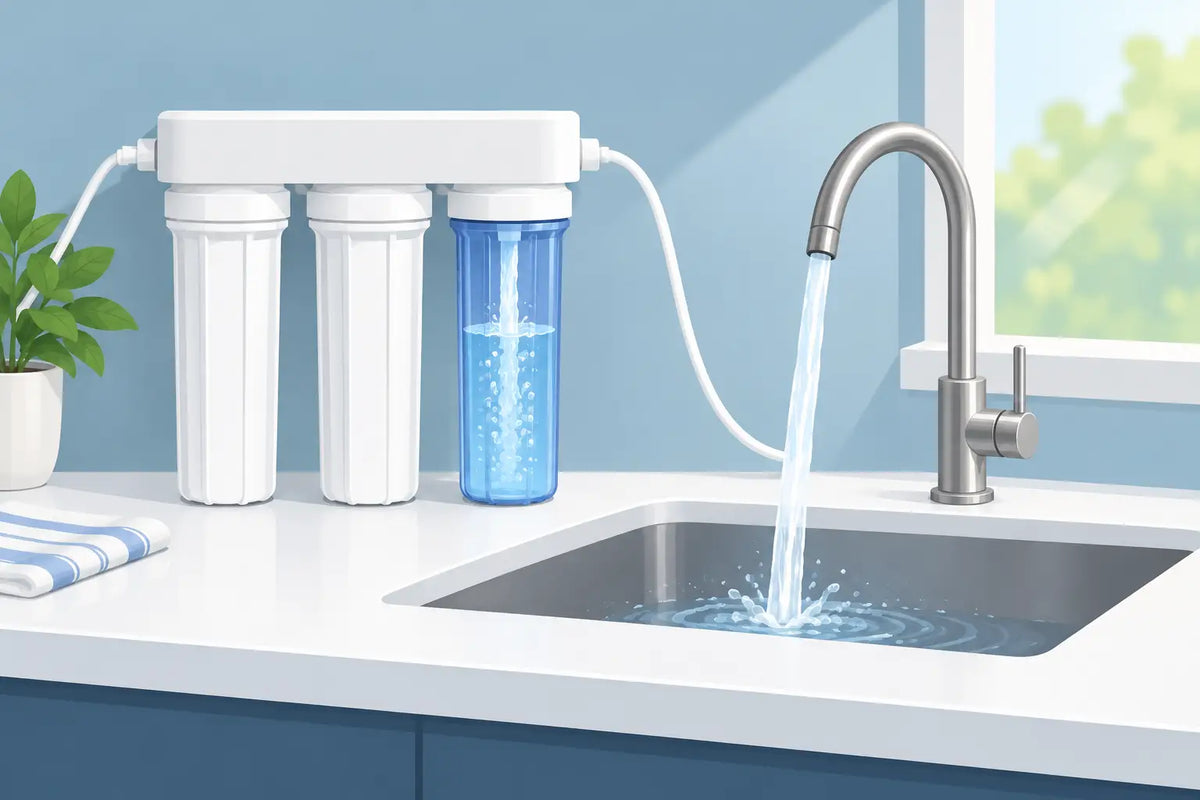
A new filter should improve your water, not send a burst of black specks, cloudy water, or trapped air through your faucet. Taking a few minutes to flush a new water filter clears loose filtration media and prepares the system to perform as intended from the first use.
The right flushing process depends on the type of system you installed. A refrigerator cartridge, under-sink carbon filter, reverse osmosis system, and whole-house tank all have different flow rates and startup requirements. The goal is the same: rinse the system thoroughly, check for leaks, and avoid drinking the water until the manufacturer’s recommended flush is complete.
Why New Filters Need Flushing
Many water filters use activated carbon. This media is highly effective for reducing chlorine, unpleasant taste and odor, and select contaminants when paired with the correct system design. During shipping and installation, however, tiny carbon particles can loosen inside the cartridge or tank. These particles are commonly called carbon fines.
Carbon fines can make water look gray, cloudy, or peppered with small black particles. They are usually not a plumbing emergency, but they are a clear sign that the filter has not been fully rinsed. Flushing also removes air pockets and manufacturing dust that may be present in a new housing, cartridge, or filter tank.
For reverse osmosis systems, flushing serves an additional purpose. New membranes and carbon stages need time to stabilize, and the first tanks of produced water should normally be discarded. This helps clear preservative solution and residual carbon dust before the system begins supplying drinking water.
Do not assume every filter follows the same timeline. Always use the instructions supplied with your specific product as the final authority. If those instructions call for a longer flush, follow them even when the water appears clear sooner.
Before You Flush a New Water Filter
Start by confirming that every connection is secure. For under-sink systems, inspect the feed-water connection, tubing, filter head, faucet fitting, and drain line if applicable. For a whole-house system, check the inlet and outlet fittings, bypass valves, pressure gauge connections, and drain line on any backwashing equipment.
Place a towel or shallow pan below under-sink housings. Then turn the water on slowly. Opening a valve too quickly can push a sudden surge of water through a new cartridge, stir up more media, or expose a loose fitting before you have time to spot it.
If you installed a cartridge inside a clear or standard filter housing, make sure the O-ring is seated cleanly in its groove and lubricated only with food-grade silicone lubricant when recommended. A pinched, dry, or dirty O-ring is a common source of slow leaks.
For whole-home filtration, it is often wise to open a cold-water faucet at a tub or laundry sink first. These fixtures generally provide higher flow and are less likely to have aerators that trap carbon particles. Avoid using hot water during startup. Most point-of-use filters are installed on the cold-water supply, and sending unflushed water into a water heater is unnecessary.
Flushing Cartridge Filters and Under-Sink Systems
A basic carbon cartridge filter is usually the simplest system to flush. Open the dedicated filtered-water faucet and allow cold water to run continuously. Many cartridge filters require approximately five to 10 minutes of flushing, but some require a set number of gallons instead.
Keep an eye on the water as it runs. A light gray appearance, occasional sputtering, or a few black specks are normal at first. Water should gradually run clear as air escapes and fines wash out. If black particles continue after the recommended flush period, continue flushing for several more minutes and verify that the cartridge is installed correctly.
Do not use the first water for drinking, cooking, ice, or pet bowls. It is better to send it directly down the drain. Once the flow is steady and the required flush is complete, check every fitting again for moisture. Even a small drip can become cabinet damage over time.
What if Your Faucet Flow Is Slow?
A noticeable reduction in flow can happen briefly when air is moving through a new system. If flow remains weak after flushing, inspect the shutoff valve, tubing for kinks, and cartridge orientation. Some cartridges are directional and will not perform correctly if installed backward.
Low flow can also mean the system is not matched to your water conditions. High sediment, iron, or scale can load a fine drinking-water filter quickly. In those cases, a sediment prefilter or a properly sized whole-house system may protect your point-of-use filter and extend cartridge life.
Flushing a Refrigerator Water Filter
Refrigerator filters commonly require several gallons of water to clear air and carbon fines. Dispense water in intervals rather than trying to fill a single container. This prevents overflow and allows you to check whether the water is becoming clear.
Most refrigerator manufacturers specify a gallon amount or a number of dispenser cycles. Use that instruction whenever available. If you cannot locate it, flushing several gallons is a reasonable starting point, but the product documentation should guide the final amount.
Discard the first few batches of ice after changing a refrigerator filter. Ice makers can retain water from before the replacement, and small carbon particles may appear in early ice cubes. Once the water and ice are clear, normal use can resume.
How to Flush a Whole-House Water Filter
Whole-house filters need a more careful approach because they serve multiple fixtures and often operate at much higher flow rates. If your system has a bypass, place the unit in bypass while you pressurize the plumbing and inspect for leaks. Then slowly place the system into service according to its valve configuration.
For a whole-house carbon filter, open a bathtub faucet or another high-flow cold-water fixture. Let water run until it is clear and free of air. Depending on tank size, media type, and manufacturer instructions, this may take 10 to 30 minutes or more.
Some tank-based systems require an initial backwash cycle before service. This is not the same as simply running water from a faucet. A backwash reverses water flow through the media bed to rinse fines to the drain and properly settle the media. If your control valve has a startup or backwash setting, use the programmed procedure provided for that system.
Never run a new whole-house system at a flow rate beyond its rated capacity. Excessive flow can disturb the media bed, reduce contact time, and allow carbon fines to reach household fixtures. If you see black particles at faucets after flushing, remove and rinse faucet aerators. Sediment can collect there even after the filter itself is fully conditioned.
Reverse Osmosis Systems Need More Than One Flush
A reverse osmosis system should not be judged by the first glass from its faucet. After installation, open the tank valve and feed-water valve, then allow the storage tank to fill completely. This can take several hours depending on water pressure, temperature, membrane size, and tank capacity.
Once full, drain the entire tank through the RO faucet. Repeat this fill-and-drain process according to the system instructions, commonly two to three full tanks. The water produced during this period should be discarded, not consumed.
This startup process is especially important when the system includes a new RO membrane. Membranes may contain a food-grade preservative solution from manufacturing and storage. Flushing ensures that solution is removed before the system begins providing water for your family, employees, customers, or guests.
If your RO system includes a remineralization stage, follow its specific directions. The final water may have a slightly different taste as the filter media conditions. That is normal, but persistent cloudiness, strong odor, or unusually low production should be evaluated before relying on the system.
Common Flushing Mistakes to Avoid
The biggest mistake is skipping the process because the water looks clear right away. Carbon fines and residual air may not be obvious in the first few seconds. Follow the required time, gallon count, or tank cycles rather than relying on appearance alone.
Another mistake is flushing through the wrong fixture. Using a faucet with a small aerator can trap debris and create a false impression that the filter is still shedding particles. A tub faucet, utility sink, or dedicated filter faucet is usually the better choice.
Avoid using hot water to flush standard carbon cartridges, refrigerator filters, and most reverse osmosis systems. Hot water can damage filter media, housings, membranes, and internal seals. Keep the flush cold unless the manufacturer specifically states otherwise.
Finally, do not ignore leaks just because they are small. Turn off the water, relieve pressure, inspect the O-ring or fitting, and correct the issue before leaving the system unattended. Protected water starts with a secure installation.
When Clear Water Still Needs Attention
Clear water does not automatically mean the filtration system is solving the right problem. Carbon filtration is excellent for many taste, odor, and chlorine concerns, but it may not be the right standalone solution for hard water, bacteria, heavy sediment, sulfur, iron, or specific contaminants such as PFAS.
If your water still has an odor, stains fixtures, leaves scale, or tests high for a contaminant after installation, the issue may be system selection rather than flushing. A water test and proper equipment matching can prevent repeated cartridge changes and help protect appliances, plumbing, and the people who rely on your water.
A careful first flush is a small step with a meaningful payoff: clean startup, dependable performance, and confidence every time you fill a glass. If your water problem is more complex than a replacement cartridge, the Pure Water Guys team can help match the solution to your water, property, and goals.